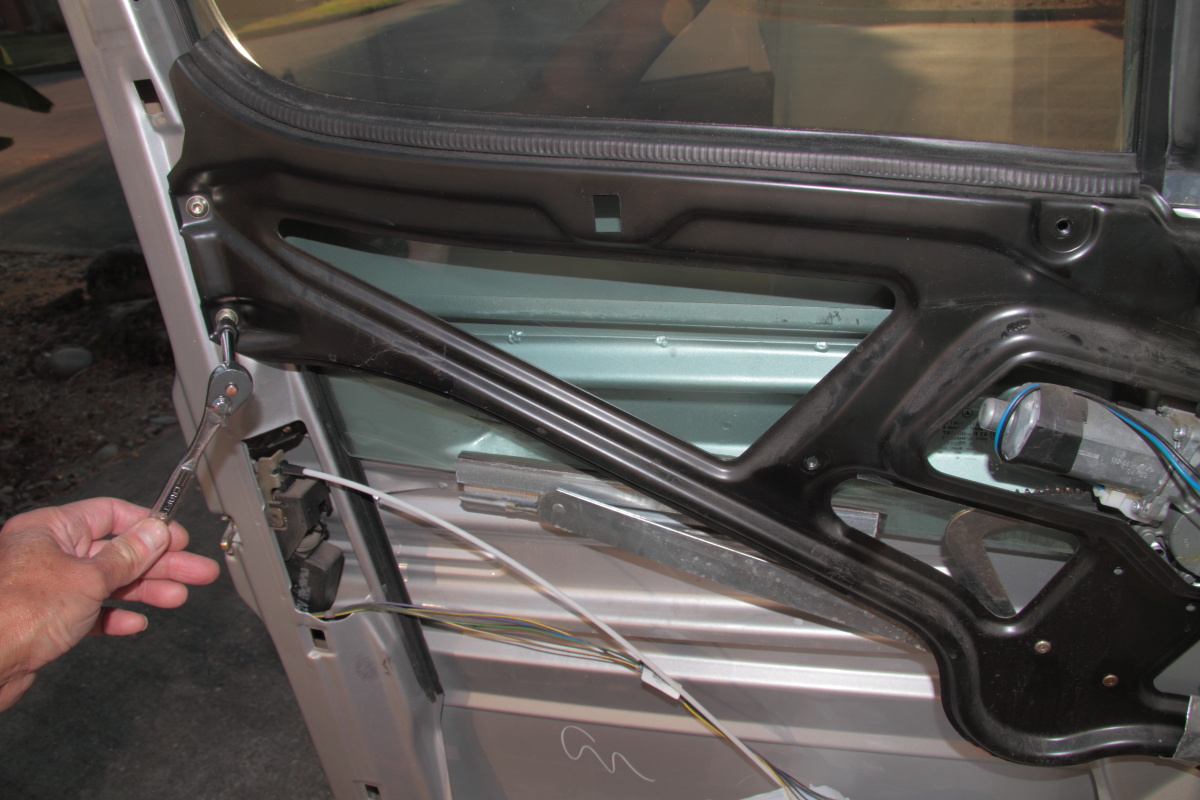
yep - this flimsy plastic slider fail leads to a $250 replacement regulator!

Instead I tried to think out the box for a solution. I was going to make a replacement slider out of DuPont Delrin which would be much stronger and better due to the inherant self-lubricate property of this very strong engineered material. However I would still have to replace the rivet that the plastic slider attached to with a bolt.
I rethink another approach to a reliable repair. While conducting self-help research I examined the parts manual I thought to myself if the window regulator would be cheaper. Clearly the manual window system share most parts (see diagram below) with the power window so it should have the same plastic slider. As often with less than accurate dipiction the diagram use the same dipiction for two different regulators - which obviously not to be taken at face value the power version should have a DC motor on the depiction. Judging from the DC motor being listed as a separate item, I infer the regulator for the powered window does not comes with one. Why MB changes an outrageous $250 for the powered version - more than 5x the manual one. May be to take advantage of the extra gravy from this failure-prone part.
window components in the parts manual

If both share everything including the sliding channels on the bottom of the window which the actuation arm raises and lowers the window it is likely the arms' interface to the window channel is a common part. Examining my fail powered version I see no reason the arm on the manual regulartor would be any different. I suspected it is the same part that rivetted to a different gear plate (likely to have different gear ratio).
Internet is wonderful. I was able to look up the price of the manual regulator. It is $42.60 list price instead of ~$250 for the powered version. While the web vendor price is about $10 cheaper, by the time you add shipping it is back to the dealer's full list price. I opted to ordered from my local dealer.
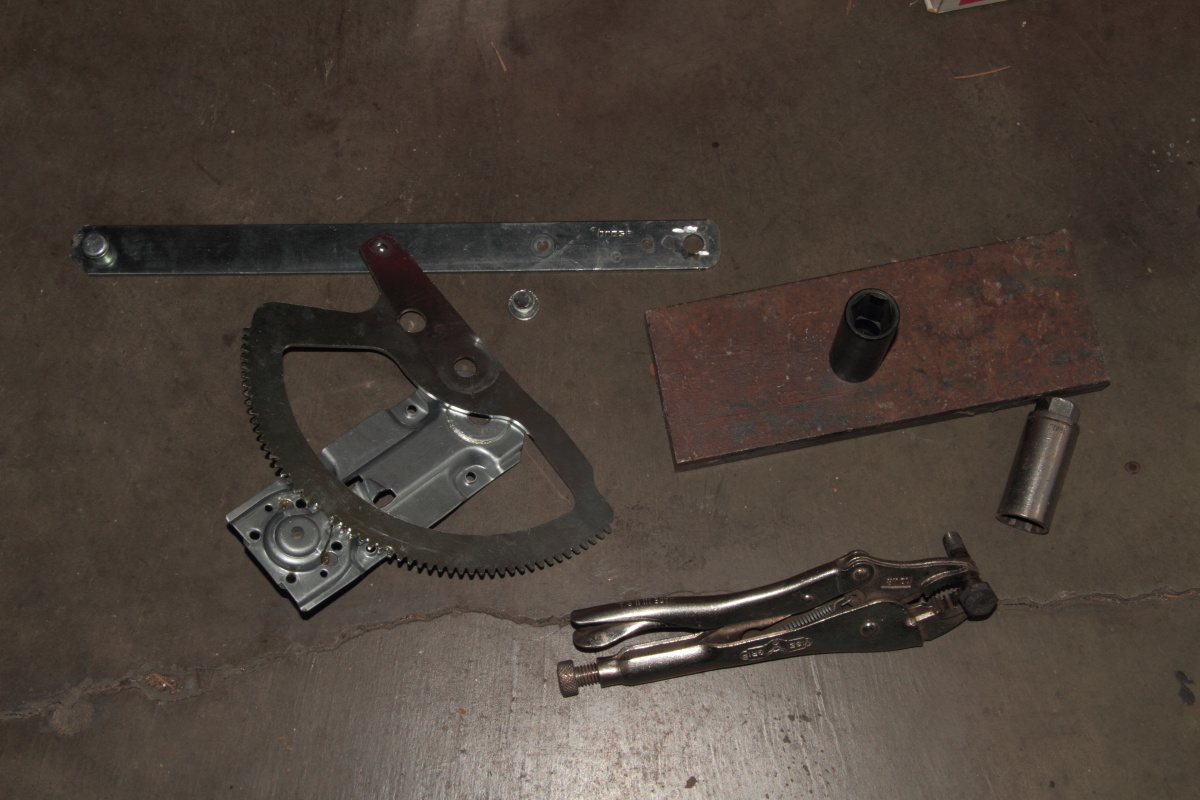
4 days later the part arrived. I went to the dealer and pick it up. Everything is as I expected. The actuation arm looks identical to my failed one and is rivetted to the gear plate with 2 big rivets. There is no reason I cannot transpant the good arm to my failed regulator assembly with some elbow grease and tanacity. Wait, where is the plastic slider? I rummaged through the packaging and there is no plastic slider to be found. I just wasted $42.60 (which is the risk I set out to take)!
I gether myself, and looked closer at the mushroom rivet at the end of the actuation arm. It looks bigger than the one on my failed unit based on my recollection. Unfortunately I don't have the old unit with me. I went home with it hoping I was right.
Arriving home, I wasted no time to examine them side by side, and my hunch proved right. Both regulators share the same common actuation arm. While it is not designed to be a serviceable part one with some skill can overcome this barrier.
smaller mushroom rivet on old actuation arm that uses a plastic slider; larger mushroom rivet on new arm that is designed not to use a plastic slider

at 6:00pm there is still no reprieve from the sun - it gets dark around 7:45pm

As I suspected, the manual regulator gear ratio is different but my hunch is correct. They both share the same actuation arm.
old powered window regulator at top; new manual window regulator at the bottom - note the smaller diameter gear plate on the manual one

Note that in the picture below, the old regulator has a a big rivet (circled in red) covered with a plastic sleeve not found on the manual version. It serve as a stop when the window is fully raised or lower so the power window does not prematurely destroy itself by the high torque of the motor.
stop post circled in red

the manual regulator (on top) has a smaller diameter gear plate

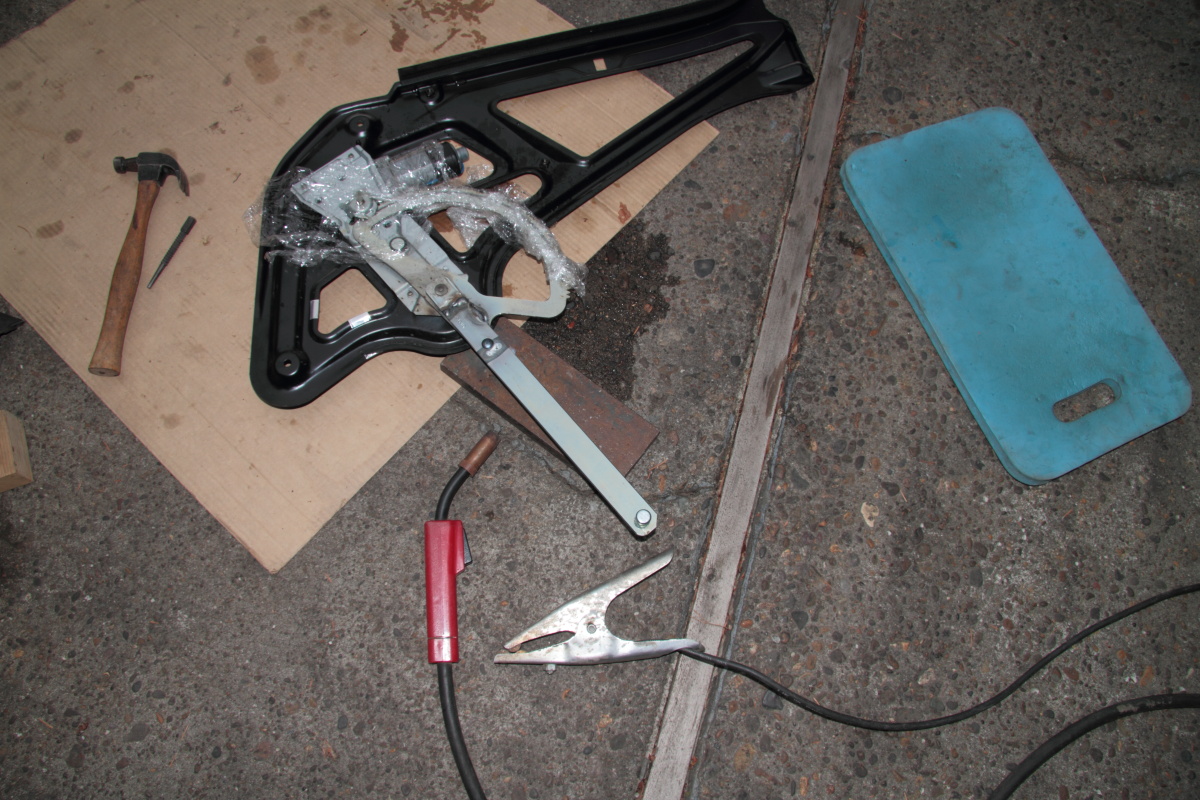
So far so good. Now I have to decide how best to warp the new arm to the old regulator. The obvious is to drill or grind out the two rivets that secures it to the gear plate and replace the rivets with screws/bolts and nuts. It is not the best of idea because the bigger rivet serves as the pivot for the gear plate. Replacing it with a screw or bolt would be a heck to my liking. I thought hard for a best approach without risking messing it up. I decided it is best to grind out the rivet on the new arm to see what it look like.
grinding out the pivoting rivet on the new arm


here it is place side by side - it is a common part but with a revised mushroom rivet at the end so no need for a plastic slider

wwii aircraft squadron passing overhead

A neighbor happens to be restoring a WWII fighter trainer. I cannot remember the exact model and believe it is a P39 (single radial engine).
The sun is setting fast and I knew I would not have enough time to finish the job. I improvise a way to keep the window securely up for the night with a piece of wood wedge.
wood wedge keep the window securely closed for the night- note to self; keep this wood wedge in brunnhilde for the eventual failure of the passenger side window on the road

i decided this is the best place to cut and joint the new arm - provide enough length for the stress force and preserve the pivoting rivet


cutting just deep enough is a delicate operation that takes some patience


It was getting dark outside and I packed it in for the night - stay tuned
Sep 19 Update:
Today is a nice overcast day. Just a perfect day for a shade tree mechanic. I started early in the morning to resume the repair.
i trace the cut line with the other arm that has been cut to create a perfect match at the joint; this allows for a good weld joint

cut with a hacksaw


reinstalled the subframe assembly back after a functional test; i also lubricated the slider track with molybdenum disulfide grease

there is only one right way to dress the wires for the control switches


what are the 2 extra star screws for?


Sep 29 Update
Having gone through this repair process knowing what Mercedes has change the design in replacing the flimsy plastic slider with a bigger metal mushroom rivet, I now know the repair can be achieved by a much cheaper method.
Essentially one just have to grind out the small rivet at the end of the actuation arm, and replace it with a bigger mushroom rivet. This mushroom rivet can very easily fabricated out of a bolt and two nuts. By grinding the head of the bolt to form a mushroom head it servers as the slider in the window's actuation channel. The two nuts are then used to secure the bolt to the actuation arm's rivet hole.
back of the envelop sketch using a bolt and two nuts

If you have a wire welder like me, you would not need the two nuts as you can just weld the bolt to the actuation arm directly.
Alternately for the mechanically inclined, instead of using a bolt and two nuts you can try to find a right rivet from McMaster Carr to achieve similar result.
well done and documented🤗
ReplyDelete