
a few coats of epoxy white paint for the propane tank skid plate on top of the primer


while i am at it i check under the wet cell for sign of water damage - i have seen some that has a lot of rust; mine is in very good shape

i have been mulling over how to increase the fresh water capacity in Brunnhilde; from water carrying tank to fix install of an axillary storage tank


it is very easy to fancy a greatly increase water capacity until you calculate the weight, and a well implemented mean to secure it; this modest 7 gallon tank weights 56 pounds when full


the wiring diagram of the water heater; note the dual redundant gas valve and a over-temp safety power cut off

the dc refrigerator for Isolde is dismantled to be prepared for painting

i bought this Western brand grey abrasive pad from Sherwin Williams Automotive paint because they were out of the 3M brand; this is once i let down my guard without carefully inspecting it

it is crap and i was mad as hell that a professional auto finishing supply will sell junk like this; the pad is made with very little material and shrinks immediately the moment you use it; it also does not have the right abrasion; never buy any Western brand products ever again

i want back to another branch store and returned the unused pack and bought this 3M that i wanted; the quality difference is immense; also two single pack of the Western cost more than this 3M

the refrigerator has this blue LED light which i want to replace with normal white color

preparing the fridge handle for painting; i remove the ugly branding logo; all the plastic parts received a good sanding with the 3M grey abrasive scrubing pad

masking again took the most work

solar radiant heat paint curing

it was a hot sunny day so i took refuge in the tree shade - shade tree autobodyman

i took advantage of the adhesion promoter that i used on the plastic part of the refrigerator to also painted the wheel center caps
follow with a few coats of silver metallic body color paint

I have been mulling over the design of the front door insert of the all DC refrigerator for Isolde. The refrigerator comes with a rather cheap black hardboard insert. The most obvious design is to go with a piece of light grey plastic laminate (like Formica). The risk in this approach is the new laminate may far from matching the color of the existing cabinet surfaces.
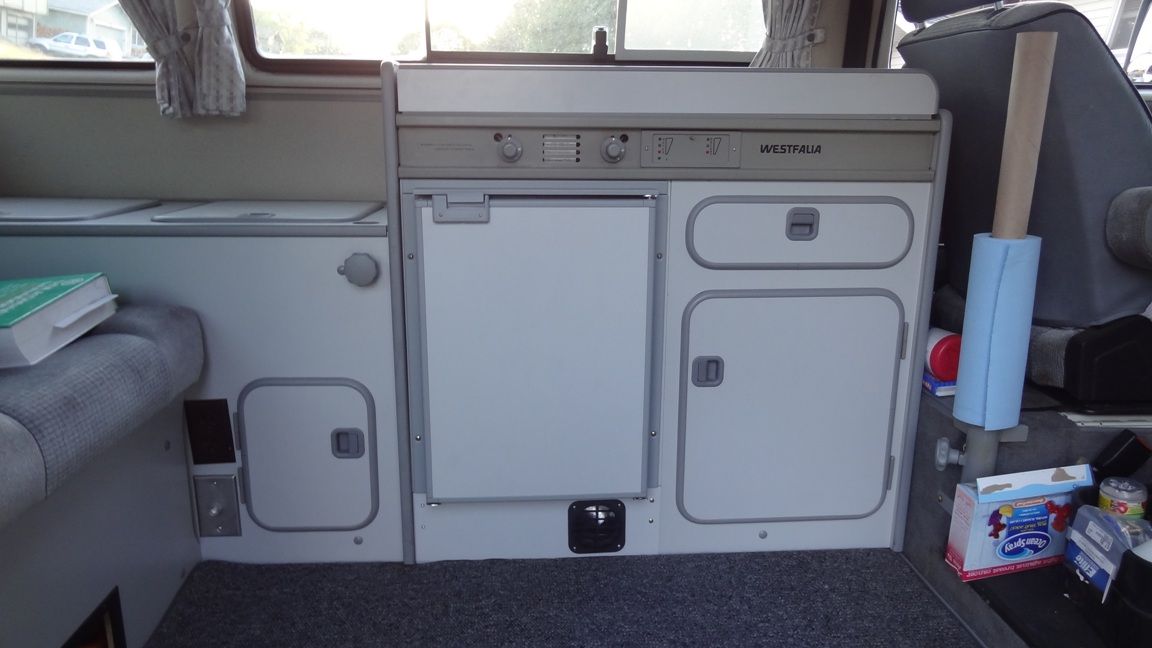
here is a very well installed of the same refrigerator in a VW syncro Westfalia camper
I however wanting to give the interior a livelier appearance. It would not be easy to come up with a design that is in harmony with the restrained Westfalia interior. I am considering a Menphis Group inspired look which I think would work without any pretension to make one think the refrigerator is factory equipment. Of all the Formica chip samples, I have narrowed down to eight candidates. All these are their 100 year special collection - sort of like architecture series. They are only sold in sheets of 5 x 12 feet. The cost would approach 1/3 the cost of the refrigerator.

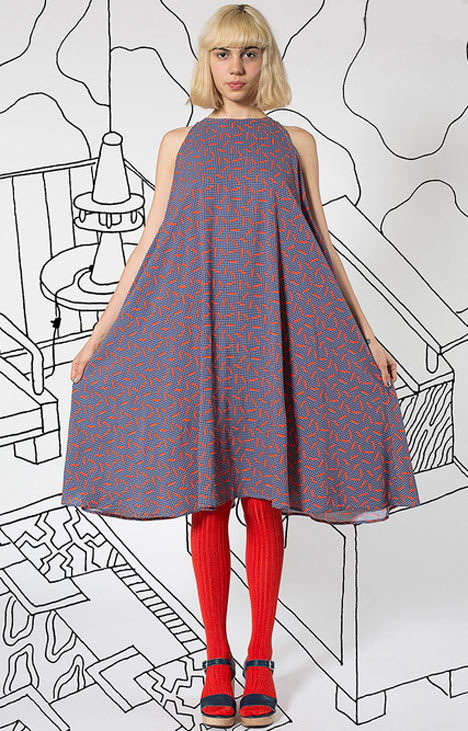
an American Apparel fabric designed by a Menphis Group designer
Another possible acceptable low cost solution is to utilize the maple veneer that I already have at home. A normal clear vanish would clash with the grey cabinetry. By staining it with a bright color similar to one of the Formica chips would work to overcome the rustic tendency of wood surface.
Still more idea inspired by the invention of Formica over circa 100 years ago and fiberglass surfboard graphics. I can laminate a piece of paper with design that I like with a sheet of fiberglass cloth onto the existing door insert panel. The graphic or texture of the paper will be protected by the fiberglass and resin and the laminate will be transparant like a piece of glass. I can also control the sheen of the surface by the degree of sanding.


next I clean the surface and masked the toilet with masking tape

the masking tape allow me to sand a uniform caulk line on the toilet

i allowed the painted wheel caps to cure for a day before installing them; it turns they are designed to be installed before you tighten the lug bolts - you cannot pop them in after the lug bolts has been installed and tighten

before

the close up look of the wheel cap and the painted utility ports

I came across this interesting article about SSD data retention problems. The most concerning one is the corruption of stored data when left un-power for extended period, and the effect of temperture. The link to a JEDEC SSD spec presentation is also a worthwhile read with a lot of interesting basics of how SSD works. Ever heard of write amplication?
No comments:
Post a Comment