
When I decided to write about the controller and title it a mystery because I had reservation of what was represented on the product page. It is one of those thing that taxes your ability to process ambiguous and conflicting information.
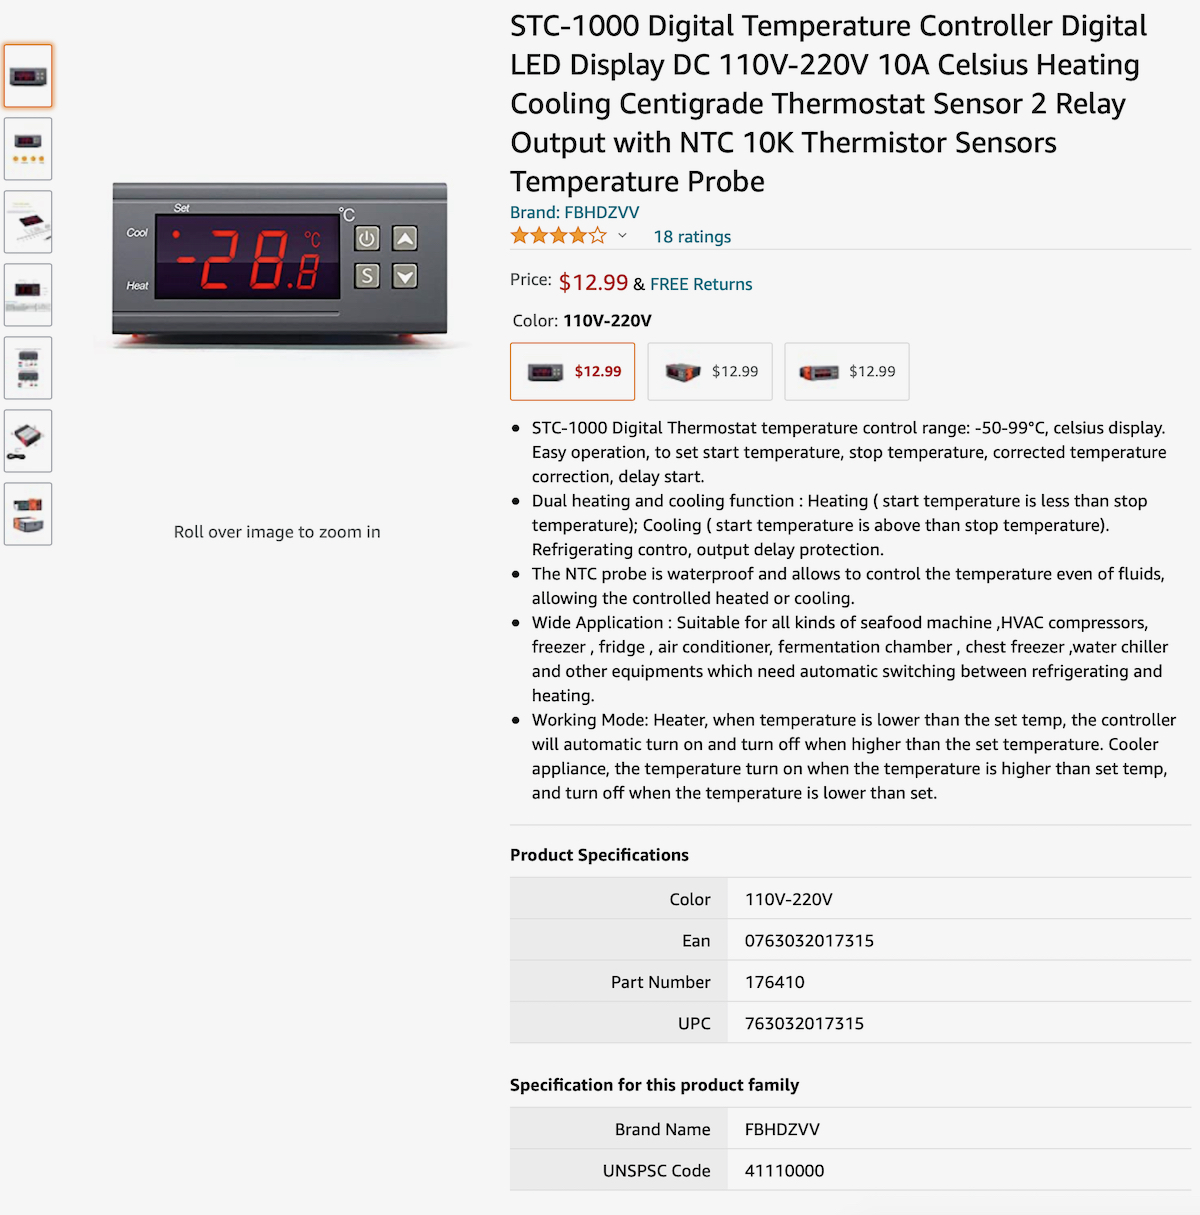
I live my life to be generally cautious, and guard myself from fools. When I received the controller I checked the connection descriptions on the unit, and read the manual carefully. Everywhere suggest this is a 12V version of the ITC-2000x family of products. I checked Amazon's product page not once, but at least three times and it sure describe this is a 110V version.

Since the manual and the unit says 12V I did all my testing with 12Vdc. As I was left with the possibility that this thing does not care whether you feed it anything from 12Vdc, 12Vac, and up to 110Vac, I was planning to test out on 110Vac last. In case I am wrong the will destroy the unit after all the tests I planned to conduct. I was very apprehensive that is can be powered from 12Vdc to 110Vac. My skepticism turned out to be justified.
First to the good. Using 12Vdc supply. The unit is everything I expect. The temperature trigger spread of 3 degree F is adequate for my application as long as I choose the sensor location wisely. I like the compressor lockout delay of 0 - 10 minutes. I wish it give fractional minute increment but it is only settable for one minute increment from 0 to 10 minutes. It's industrial design is also tasteful and fits nicely with the Westfalia decor and aesthetics.
It will also remember the last power on/off stage if I shut remove and restore power. That means I don't have to switch on the air conditioner with two on/off switches, as long as I leave this controller On when I switch off the AC's master power.

With this controller I have great latitudes in controlling the cycling characteristics of the AC, as well as any temperature set point I wish, within reason.
After I was totally satisfied with its operation, I started planning on where and how to mount it. But since I want to use the AC's master power switch to turn on this controller also I want to power it with 120Vac (same as 110V). I was not dumb enough to try it with it hooked up to the air conditioner circuit I built in case something goes boom!
I unhooked it from the air conditioner and bring it back to the bench to perform this test. I wired it up and plugged it onto a power strip with the switch set to off. I stood back and switched on the power. Immediately something pop inside and a billow of smoke. The mystery solved, but unfortunately I had to destroy it to find out.
I am disappointed with this to say the least. I went and order the ITC-2000 which clearly states it is the 110V version. I actually order another brand that is cheaper and I know there are identical to the correct Inkbird ITC-2000. I am keeping the fingers crossed that the right one will retain the previous On/Off state when power is cycled.


No comments:
Post a Comment