
There is always a long punch list of projects that I planned for Brunnhilde. The weather is getting warmer and dryer by the day. Spring and early summer is good for outdoor projects of all sort before the summer heat sets in.
one of my forum friend liken this exercise as dressing and undressing an elephant


i always dislike embellishments

around the water heater door is tricky to remove unless one loosen the water heater mounting screws

The first project is to strengthen the top shroud for the rooftop air conditioning. I can tell it is fabricated with a flat sheet of plastic by heating it to conforms to a mold. The area with complex bends like all the screw holes has the least thickness because they experienced the most stretching. Over time with the vibration the material around the screws destroyed itself from abrasion.
My solution is to strengthen them with fiberglass. I opted to use polyester resin knowing it dissolves the plastic, making a good chemical bound. I cleaned the areas to be glassed with just simple soap and water and let dried in the sun.
one of the many elongated holes with paper-thin thickness


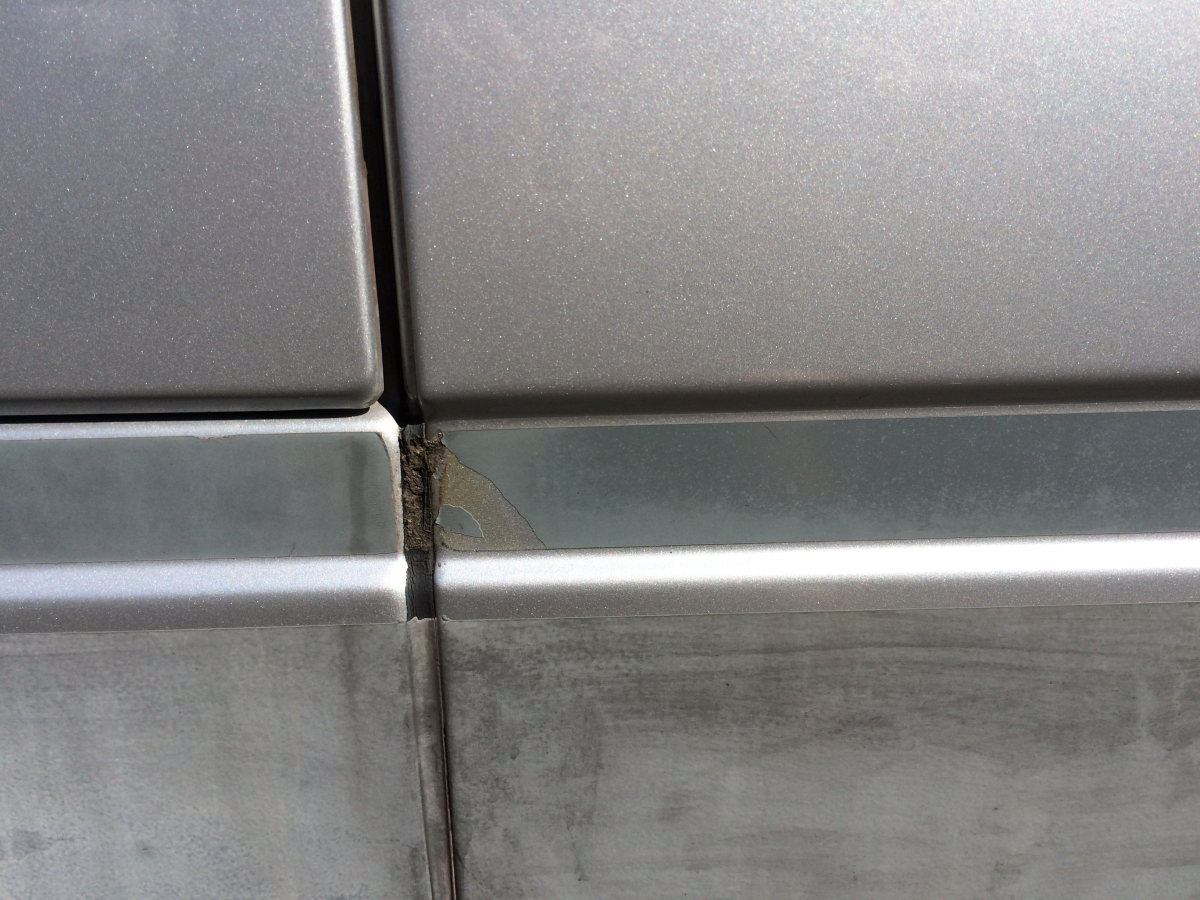
this section cuts easily due to rubber starvation

i took this picture to document the part number of the Pix brand belt - it is 630mm loop length with 5 ribs; K designates this family of micro rib belts with 0.14 inch rib pitch; in the us there is often the confusion if the loop length is in inches or mm; buyer beware

The next project is to repair the stripped screw holes for the latch receiver of the small awning windows. While I am not the first owner of the camper, I believe these holes were already stripped from the factory based on my forensic investigation. Some resourceful European owners of James Cook has done the repair by using Pem Nuts that is designed for this kind of repair. While it may seem like a good solution, I wanted to come up with a less intrusive and perhaps a stronger repair. I have conceived a number of different ideas, all with trade offs as well as involving different degrees of complexity. To name a few:
- Rebuild the enlarged hole with a strong curing compound like Epoxy, or plastic adhesive.
- Build a new layer of fiberglass composite onto the window sill to create new material for the screw anchor.
- Using the next size diameter screw.
- Using Pem Nuts to repair the holes.

On the two latch receivers that have stripped mounting holes, there are 6 spacers that are required to align the receiver to the over-center toggle latch on the awning window. The added height of the spacers imparts rotation moment onto the two long screws that bites into the rather thin fiberglass window sill. It is very clear there is simply not enough thickness on the fiberglass to support the strains on these screws, hence the stripped screw holes.
there are 6 spacers on the failed latch receivers, and only 3 or 4 spacers on the one did not fail


i protect the window with a wet towel to prevent debris or parts from dropping into the abyss


stripping off glass fiber threads to build a small bundle

small bundle of fiberglass threads fed into the screw holes


While the resin is curing, I set out to address one fundamental problem with the spacers. The spacers are made of hard plastic and are extremely slippery. Because of the slippery surface the stack of spacers can shear easily aggravating the stress on the two mounting screws. It also requires one to tighten the screws much harder to keep the latch receiver in alignment. My solution is to glue the spacers together.
I glue 5 spacers together leaving 1 unglued so I have the option to not use it if not needed.
i used masking tape to hole the spacer together while the polyester resin cures


Once the fiberglass and resin cured, I trimmed off the excess with a miniature abrasion cutting wheel with the Dremel tool.

Then grind the surface somewhat smooth with a stone abrasive tip. I also rough sanded the celcoat to promote friction to prevent the latch from sliding out of alignment.

I also rough-sanded the spacers surfaces as well as the that on the latch receiver to promote friction


I carefully drill the screw holes through the newly restore material first with a fine cutting tip using the Dremel tool, followed with a drill bit. I started with the Dremel cutting tip to avoid the drill bit from walking off the hole targets.
Before reinstalling the latch receivers, I carefully checked to determine the number of spacers required. I reduce them from 6 to 5, which I already glued together with polyester resin. When installing the latch receivers with the screws, I have to torque the screws quite hard and this tell me the repair is very strong.
In fact, I think the repaired holes are stronger than those without the repair, thanks to the fiberglass thread reinforcement and the additional thickness of the cured resin.

A note on resin adhesive commonly used for composite laminate. The most common types are polyester and Epoxy resins. The two are quite different in their properties. Polyester is much cheaper than Epoxy so it is more often used for common consumer goods. It tends to dissolve most hard plastic. High quality Epoxy is nearly always used for very high performance structural applications such as aerospace or racing machinery. It is important to choose the right resin for your application. The relative costs of the two has little bearing which is the best for your application.
As always your project documentation is very thorough. It always helps to know not only how but why a specific course of action was taken. And of course pictures are worth thousands of words. You cover all the bases! Thanks for sharing!
ReplyDeleteWhere are you getting the replacement belt? McGuire bearings is where I get belts and bearings.
ReplyDeleteRob