This post is really for my own documentation on how to service Brunnhilde's blind/screen. Starting last autumn, the insect screen of the big awning window begun to become lazy. It got worst quickly over time and eventually it would not retract. I have been very reluctant to tear into the roller blind/screen having read about other owner's terrible experience. Only one of my
James Cook Freunde John recent service of his encouraged me to take the plunge.
start by removing the light fixture above the dinning table/lower berth
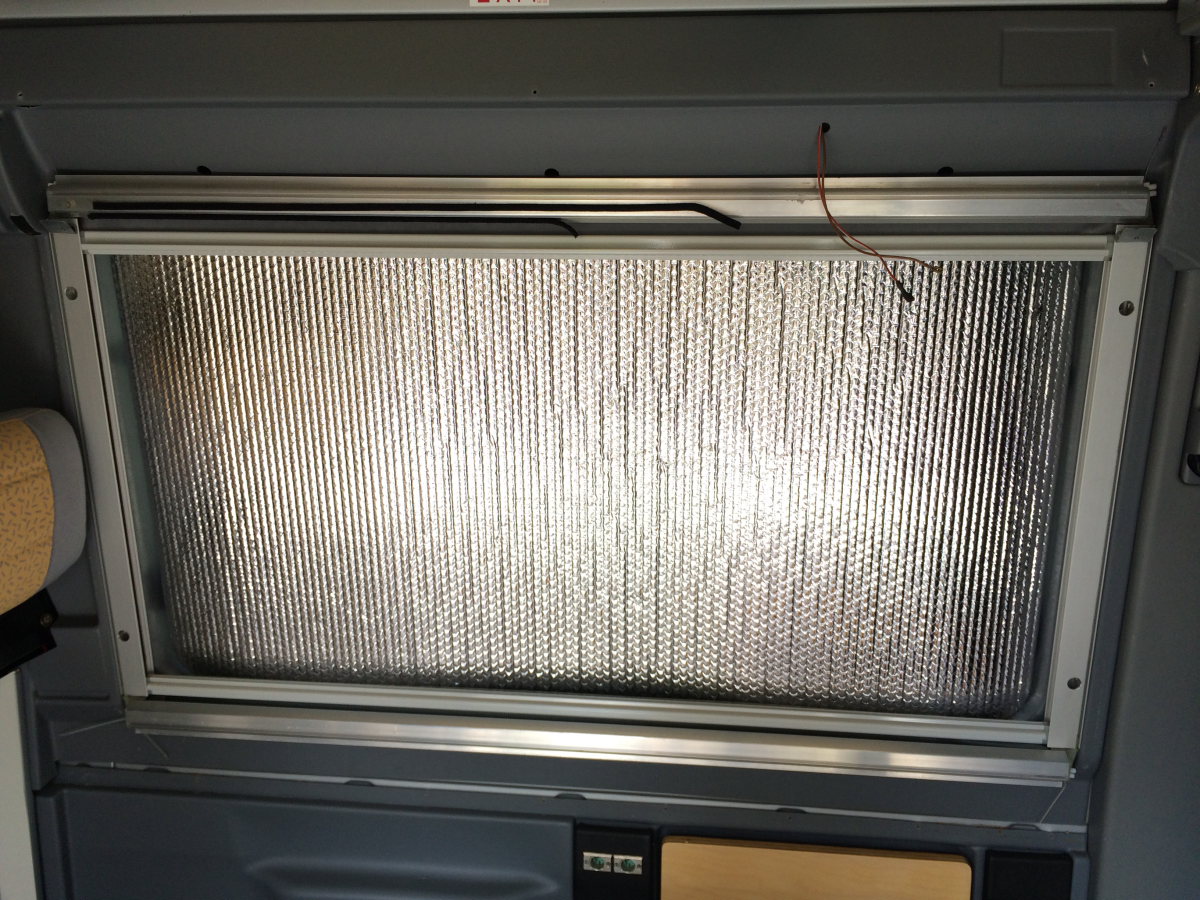
In case you wonder, the silver foil is my home made solar curtain to reduce solar gain. It is removable.
remove the dinning table support rail
remove the plastic caps covering the screw heads followed by removing the long screws that fasten the lower horizontal plastic - qty = 2
these are the long screws
remove the screws on the upper horizontal trim
next step is to remove the two vertical plastic trim molding on the frame
they are very well made and pop off nicely by pulling on the side as in the photo
this is what the back of the vertical trim molding looks with the locking rail
same with the right hand side one by pulling out on the side
now the entire roller blind/screen assembly can be seen - held to the vehicle chassis with 4 screws
here you can see the screw through the access hole
length of the screws
exercise care not to rack the assembly
there are rubber grommets acting as spacers behind where the screws are and two additional ones at the bottom of the frame
6 spacers
all the fasteners and screw trim caps
finally i have a chance to undo the bad crease made by the previous owner
bad creases on both ends of the blind
if you look carefully you can see the magic behind the blind/screen - plastic pulleys for the steel cables that keep the blind and screen square through out their travel
this is my rough schematic of the steel cable and pulley system
After checking the rollers and blind and screen I could see what cause the laziness of the screen. I decided there is no need to tear down the roller to clean and lubricate the shafts. I just spray where the steel shafts meet the plastic support with silicone spray lubricant. I re-installed the roller blind/screen assembly. To my surprise the insect screen still will not retract.
Examined carefully I then see that the plastic window sill is rubbing against the rolled up screen. It is clear what happened. The plastic took on a different shape over time and have bowed out and came into contact the middle span of the insect screen roller.
here you can see the big gap formed between the plastic sill and the window frame
I knew what I need to do is to find a way to pull the sill towards the vehicle's steel frame. I feel with my hand and found the metal frame that I could add a screw to pull the plastic sill tight against it. That fixed it good.
one sheet metal screw and fix the problem for good
an awl really help to find the screw holes though the layers material
Mission accomplished. I fixed the insect screen, lubricated the rollers, and removed the unsightly creases that have irked me a long time.


Another good job of documenting the procedure!
ReplyDelete