
The wait is over now that I have the Formica plastic laminate that I special ordered. Figuring how to cut the 3 x 8 feet Formica is a hard part when you don't have specialty tool of the trade. Over the years I worked with Formica a bit and is never easy. In the old days they tell you to score with an utility knife and then snap it. I can tell you from experience that never ends well.
First a bit of cooking.
taking down a duck

i have two breast and two legs and the carcass and neck would be use for stock

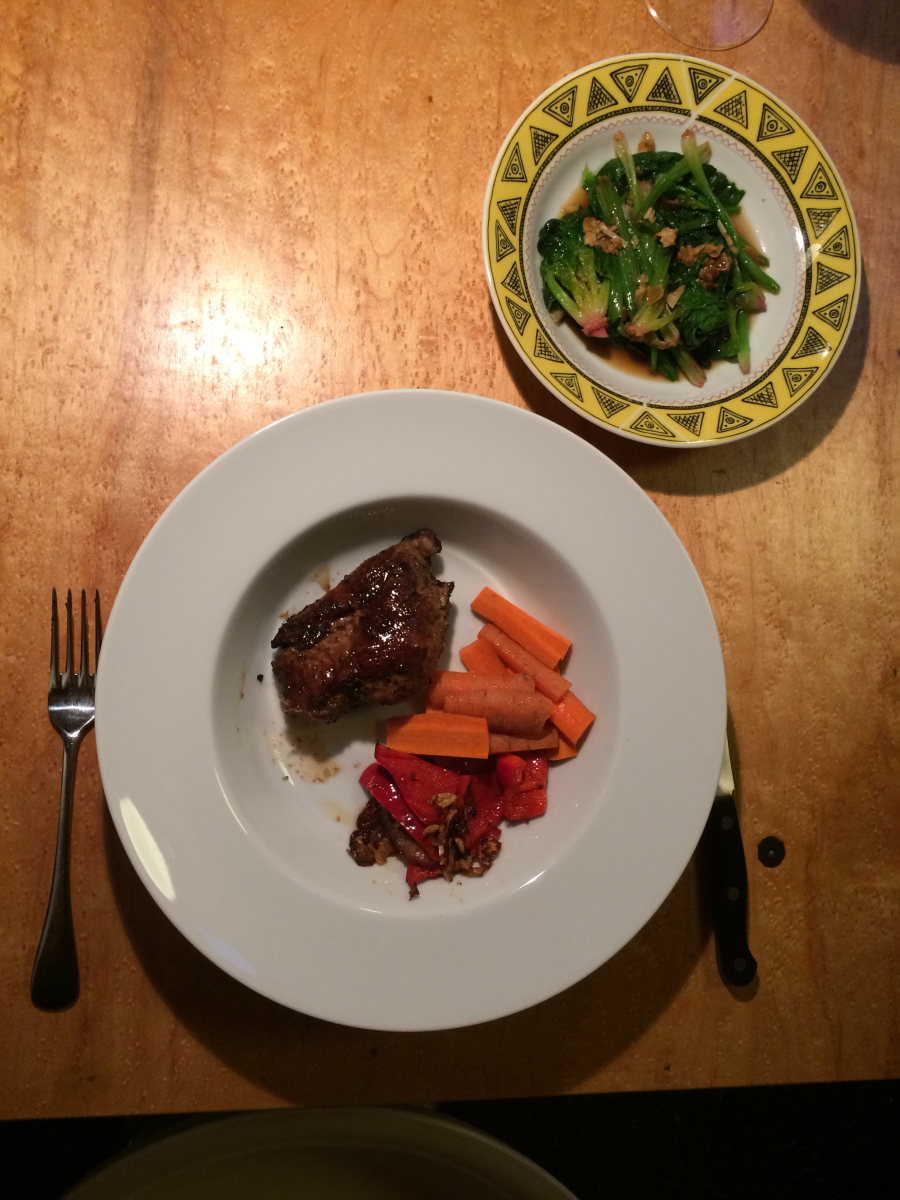
pan searing a breast

the 3x8 foot sheet of Formica i ordered

i grudgingly broke out my 80-tooth wood cutting blade as it is my best option; the Formica sheet is curve like potato chip making cutting quite difficult as it just keep bouncing; there is only enough material of 1 set of what i planned so i planned carefully as there is only one chance

i could not wait to slip the Formica into the door and temporarily hang the handles loosely (not wanting to scratch the paint until I know the open-to-left configuration is a go; i think it looks smart! to borrow from Sir Ives' famous quote for the design of the 5c iPhone - it is unapologetically Formica!
this is the as shipped appearance

begin pulling out the old Domestic thermal siphon refrigerator

i need to seal this now defunct combustion port

i still remember you have to till the Dometic to clear the flue pipes

i was one of the first to use computer cooling fan; i install this one circa 1998 and it is still going strong

comparing to the new 12Vdc refrigerator this one weights a ton

i was also one of the first to replace the unsightly brown AC outlet with this spec grade grey one

no signs of water damage

i set the refrigerator in to see how it would look; i planned all along to install it up against the bottom of the range top as that will give a cleaner look with the new storage space below the refrigerator; one concern i have is mounting it off the floor may be nosier unless it is very well supported; alternately mounting it high will better align the condenser fin/fan to the vent port in the side of the cabinet; that will also maximize the volume of the new storage since there is more depth at the bottom than the top

time to check out the open-to-left arrangement of the door

door fully open to move shelf and access the water collection tray under the freezer box; this requires the bench seat not in the bed configuration

with the bench seat down in the bed configuration

no problem with accessing the refrigerator and this is more ergonomic for meal preparation

the refrigerator cannot be raise until the 1/4-inch panel at the back is trimmed up higher as it interferes with the compressor, plumbing, and the condenser cooling mechanism

i remove the duplex 120Vac outlet in the cabinetry that was required for the old Dometic fridge

there is this secret compartment (use your imagination but don't tell the DEA) which i plan to install a dual battery charger from the Westfalia James Cook that i have a spare; finally for the first time there will be trouble free battery charging system

this is not a good mounting position as it obscures the connection terminals as well as under the water filler tubing

this is the ideal mounting position - for access to the connections as well as the fuse

at the back of the new fridge you can see what needs to be trimmed off on the cabinet back panel

break out the Fein MultiMaster tool - this is an amazing tool and is designed and built with impeccable attention to details; there are many copy-cat products out there but none comes close in quality and design, down to the storage case

ready to do the plunge cuts

the two black dots in the photo is the plastic support for the fresh water to the faucet that i relocated a inch higher

i temporarily put the fridge on 2x4 scraps to check if i can install it as high as possible; remember behind the fridge is the curvature of the vehicle; i need to raise it by almost another inch

here you can see i need to trim off another inch to raise the fridge another inch

the old and the new - amazing how complex is the Domestic 3 way refrigerator, and it weight at least 1.5 times the new all DC fridge

the Dometic has more frontal area in both width and height but much shallower

to maximum the new storage space is to remove the four rubber feet of the new fridge; my concern is vibration and higher noise though i suspect there would be no difference given the compressor is on the top

this is about as high the fridge would go - as there is a top trim piece that is about 3/8" tall

i removed the brass fitting of the "city" water inlet - i had no once use it and it was long disconnected when i install a marine faucet


removed the thin shims for the old fridge

this is the cross section of the Westfalia trim panel of the cabinetry - a beautiful precision milled rabbit joint on both side; actually left side edge has a double rabbit mill work

only Westfalia builds cabinet to this perfection in the industry

the back side - it will pain me to cut this face trim piece but it is the only way i can achieve a factory look

i use silicone caulking to prevent vibration of the metal plate now there is no flue pipe to support it

As I proceeded to close up the now-defunct flue and fresh combustion air stainless steel port, I thought to myself what a shame. If I were to contemplate an installation of a cabin heater I would try to repurpose the port for the heater. My Carver forced air furnace is too large to fit under the new refrigerator without butchering the cabinetry.
the Carver P4 forced air furnace

found a plastic disc from my scrap to seal the opening with silicone caulking

At this point of the project the progress seems very slow as I am designing as I go. There is a lot of pondering of all alternative options. To achieve a factory appearance of the conversion I want to find the best options and choose one that is most feasible. It is very easy to mess up the conversion so I am taking my time to design and execute it right.
i made fresh pasta with king crab leg


No comments:
Post a Comment