I have a setback in my desire to add a display blanking feature to the Ink Bird temperature controller. When I formulated the idea, I didn't give much thought of the complexity of the segmented LED display. While I was right to expect it being a dumb segmented display, I didn't give much thought to the number of segments this purpose made display has, and the number of pins that requires to support them. A rough count I found 34 segments to be switched on/off. Yet there are only 13 pins on the package.
After performing the bench test to verify the feasibility of the modification, as well as how well it functions, I felt satisfied it would be an enhancement over the Westfalia implementation, in a number of areas that I had identified in the outset. Before diving in and start hacking and run the wires one main thing remain. To see what it takes to add the display blanking function. My thought was it cannot be that difficult, just a couple of trace cuts and add a SPST switch.While I opened up the 12V unit of the Ink Bird equivalent, I only had a cursory look at the display pins and visible circuits, I didn't deal into the details. Now I am ready to move forward, I inspected it more closely and realize it is far more difficult than I expected. Soon I realize I cannot reverse engineer how the display is connected and driven without pulling it off the PCB. The displays of these units are very different while they were made by the same no name Chinese company. I cannot find data sheets or any hit at all doing a web search.
All these discoveries was done on the failed Ink Bird. As the two controllers design are quite different and all the PCBs and displays are different, I need to verify the same hack may be accomplished with the good unit.
Ink Bird equivalent (left); burnt up Ink Bird (right)
As I pulling the display off the PCB without causing damage is a risky business, I wanted to try doing it on the burnt up Ink Bird first. Having so many pins soldered down with lead free solder pulling it undamaged requires some skills and care.
I tried using a manual solder sucker and that didn't work at all; but I managed with soldering wick
I pulled the display off without causing any damage
I was able to track the circuit and determine some pins, but I was stumped with the 4 pins that are either common anode or common cathode, and why 4 and that all 4 has diode drop to most other pins
Soon it would become apparent why there are four common cathode pins. Just doing a quick math there are many more segments to be driven than there are pins (13 pin in total). Not just the MCU I/O pins controls the segment pins, there are also 4 I/O pins devoted to the common cathode pins, in order to address all the segments. At this point it sunk in for me a simple trace cuts and adding a SPST switch would be far from enough. May be there is no way without able to modify the codes of the MCU, which is a project that I am unwilling to undertake.
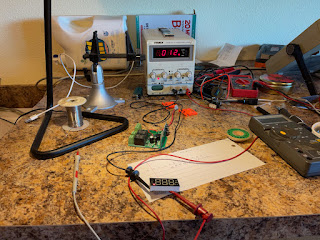
I set up the power supply to check out the addressing of the segments
While I was unable to find the data sheets for these displays I have a good idea how from my test. There are four common cathode pins. Each is responsible for a group of segments. The precise assignments are not important for me to know for the purpose. I can reverse engineer the details only if needed but it is pointless. The assignments are like one pin for the 7 numeric segments, for all three digits; one or two pins for the multitude of dots as there are more than four; and one pin for the special symbols.
Simplistically if one were to try to achieve the display blanking via low-tech trace cut and hard wire, one will need a four-ganged SPDT switch. That is not feasible in the tight confine of where I wish to mount the controller.
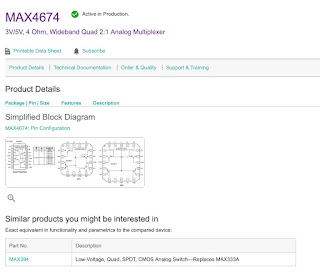
Just before I given up hope I realize an elegant hack and yet without incurring excessive complexity and power consumption is using a CMOS analog multiplexer IC. I might even have one in my electronics parts bin somewhere.
this quad 2-to-1 multiplexer is perfect and simplest for the elegant hack


No comments:
Post a Comment