
This resumes from a previous post in good shape, isolde - part 12. Riding on the success of the ventilation fan that I built for Brunnhilde, I went ahead with a similar design for Isolde. The difference is I chose a larger diameter fan to take advantage of the skylight opening. Larger fan means lower RPM, and hence quieter and more efficient operation.
In order not to waste what I have left of a remnant of 1/4" thick artist's foam board, I first made a temporary support for the fan using a piece of scrap.
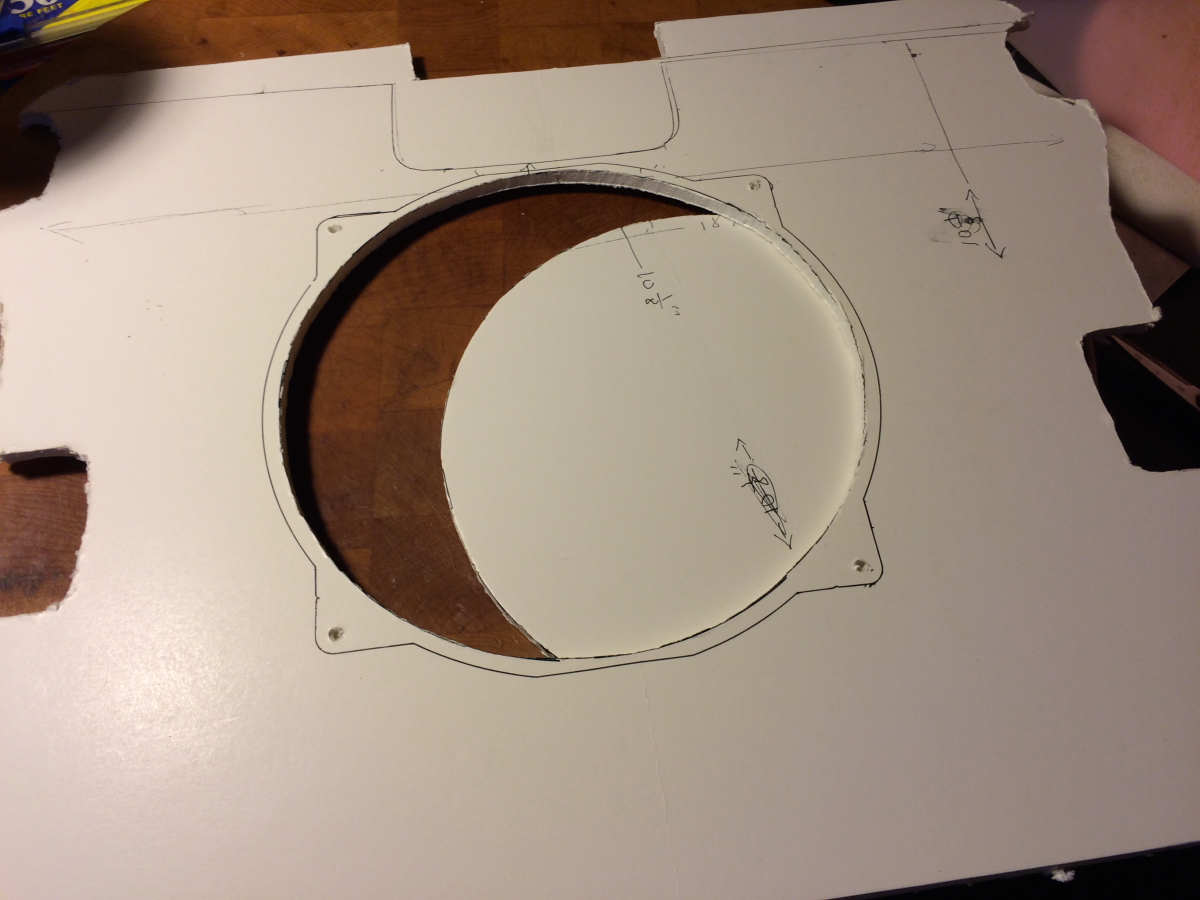
i just wedged the scrap foam board into the skylight

a notch is cut to clear the skylight mechanism

next I trace the fan outline and proceed to cut out the circular opening

the fan will sit on top of the foam sheet which is perfect
I used the 4 mounting screws that came with the fan to secure it onto the foam board

I let it run a good part of a day and there is no sign of distress on the fan

the fan left sufficient space to the skylight when closed

this is a pair of wire that I provisioned back in circa 2003 for a ventilation fan; only now that I finally got around to this project

satisfied with the in-situ bench test I proceed to build the final version


it is that simple

90% done

I wedged the assembly into the skylight and it sits rather securely; I have not decide the support on the front edge, though I likely will take advantage of the two fasteners for the skylight hinges

finished look from top; I incline to leave the fan assembly as a fixed installation as it will block out a lot of harmful UV into the cabin

Update 2016.04.03:
I spent a few minutes today to fabricate a temporary support of the foam board fan assembly. I did this before the foam board bend due to gravity aggravated by solar heat. I just want to improvise what I have on hand.
this stainless strap is perfect with the two holes already there to make two support clips

i popped out the grey plastic trim caps to expose the bolts and nuts of the two skylight hinges; i was glad to see there is sufficient threads for adding the clips and nuts without having to disturb the existing nuts

a bit of cutting, bending, and removing the burrs the foam assembly now is properly supported, and hence the fan; i was concerned that when the foam sag from gravity it can distort the fan housing structurally due to the solar heat

One leisurely small step at a time I am taking to tool-prove the design.
Here is the advertised specs of the fan. I would not be too obsessed with the numbers. Do note that this kind of fan are not design for any back pressure at all so there is some reduction of CFM just due to the deflection of the outlet air hitting the skylight. Even if the CFM is cut into half from 130, that is going to do a lot of good keeping the cabin temperature lower than without when parked in the sun.

Wow, Nicely done, how much air does it actually move? Wiring in place since 03' the payoff finally happens.
ReplyDeleteThanks Tom. I updated the post with more information. It is hard for me to quantify except by feel with my hand near the open skylight by the fan. I would estimate the CFM is no less than half the 130CFM as claimed.
ReplyDelete