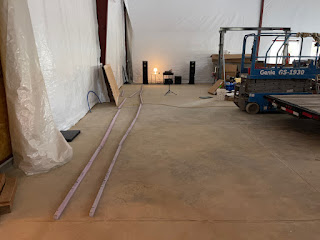
The structure of the steel building represents a major challenge for a resemblance of wall finish. Unlike stick building with wood where there are regular intervals of vertical members for sheetrock or plywood panels to be fastened to at regular intervals such as 16 inch on center, there is no vertical elements. For most sections of the building the distance between vertical members are just the steel columns and they are 20 feet apart or more.
In this building there are only the girts for any wall panels to be fastened to. They are separated by 7 feet 4 inches vertically. With so few support points a row of panels will not maintain a smooth plane unless they are fastened together edge to edge. I soon realized the best method is to use tongue and grove plywood designed for subfloor. They have T&G along the long edges allowing adjacent panel to interlock with each other.
the two lower girts are 7' 8" apart
Originally before identifying the T&G plywood I was thinking about using 3/4" cabinet grade plywood with one refinished side. They are now about $80 per sheet and the aggregate cost to line all the walls comes to a lot of money. What is left too is how to tie the sheets together. Vertical external stringer was one of my original idea. Once I came to the T&G plywood idea most of these problems are addressed. The cost of the 23/32" T&G plywoods also is half that of the cabinet grade 3/4".
Before I commit fulling to the idea I purchase just enough to line the wall section for the installation of the hydronic boiler. Supporting the weight of the boiler without the plywood bending inwards would be the proof of the pudding. This turned out to be a resounding success so I went to Home Depot with the heavy duty trailer to pick up one unit of these plywoods. There is a few dollars per sheet saving in buying one unit at a time.
one unit is 44 sheets which is quite close to what I will need to line the whole barn
I decided that pulling a sheet at a time off the trailer is the most efficient work arrangement
The other challenge is finding the perfect fastener to fasten the plywoods to the girts. I want the minimum penetration into the girt as there are many vulnerable utilities running along and supported by some girts. As the fasteners are self-drilling they will puncture the gas lines of the mini split system or the propane line.
with that many sheets the cost of fasteners also adds up
I went to Home Depot and looked at hundreds of fasteners and finally determine this is the perfect fastener for the job. The are #10 1 7/16" wood-to-metal self-drilling screws. They just have enough thread length to engage the girt if installed carefully.
the countersink screws are just perfect in every way
to protect the utilities running along the girts I cut strips of this high density foam as spacers to keep the vulnerable utility aways from the front face of the girts
here are the mini split refrigerant lines running along the upper girt now protected by the foam spacer
I invested into the Festool track saw system over 10 years ago and have not put it to use until now
the job would had been 10x harder if I didn't have this track saw
Working solo the most difficult part of the installation is fighting the warps of the panels to lock two adjacent panels' T&G sides together. These subfloor plywoods have warp sets that are like potato chips, and each one is different base on where the moisture differential and the veneers layers.
the first and last penal of each wall section also needed to be scribed and cut around obstacles

.jpeg)
.jpeg)
.jpeg)
.jpeg)

.jpeg)


.jpeg)
.jpeg)
.jpeg)
.jpeg)

No comments:
Post a Comment