
In a way one of these is not exactly new. One is an Ikea LED light fixture I was doing prototyping last autumn to determine if I want to install it and the best location. I have keep the halogen lamps for the kitchen area as I prefer the warm spectrum halogen lamps gives out. I swapped the stock 20W with 10W bulbs and the brightness for both sets are quite adequate for me.
When I use computing devices, watch video, or even just lounging around I want a fixture that give a much lower illumination any existing fixture can provide. Power conservation of the house batteries is also another big factor
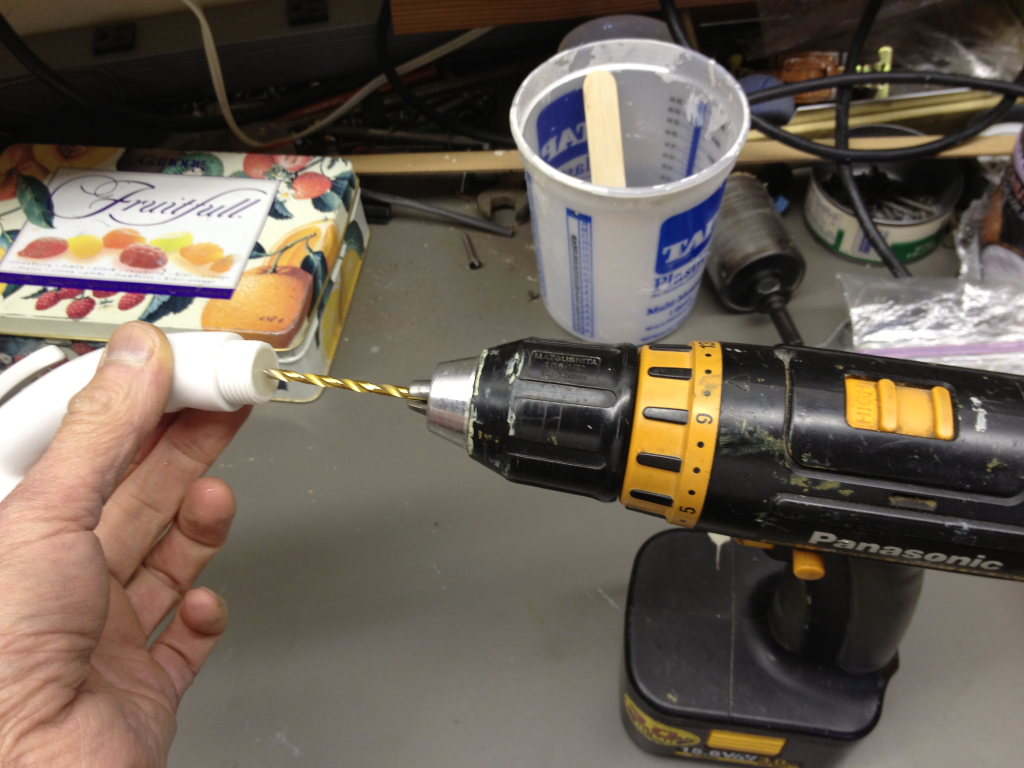
knowing i would not use it with 110Vac i didn't buy the AC cord; the white box is the AC adapter

my chosen location is here - i carefully place it so it is less likely to be hit when accessing the upper berth

i found a mini toggle switch in my hobby parts pile; how and where to cut the wire is critical to the finished appearance


pull the switch forward is on


The second present is a new outdoor shower arm. Last year to solve the poor flow of the shower arm in the bathroom I repurposed the outdoor shower arm for use inside because it is a nicer looking arm as well as providing better spray pattern.
A few days ago I had been surfing for RV shower arm but pretty well dashed the hope to find one with acceptable appearance not to mention one that would work properly with Brunnhilde's low pressure and low flow pump.
Then I found this cheapest one that is all white. I immediately knew what it is. It is made by the same manufacturer as Brunnhilde's outside shower arm. It is a sister design and sold under different brand. This is a very common practice for bath and kitchen fixture products.

it arrived


they added a plastic disc to restrict the flow to adjust for US RV high pressure high flow system

simple obstacle calls for a simple solution
much improved

the original one has a slight edge and better fan out


the inside one looks better without the hanger ring now


a tight spray pattern for use in the sink

now the outside one has a hanger

No comments:
Post a Comment